Introduction
Cleaning your freezer may seem complicated. After all, it’s not just about removing food from the shelves. If you don’t clean the refrigerator properly it may break down. If cleaning your refrigerator seems complicated, you can hire a professional to do it by searching for “home cleaning services near me”. For now, let’s check out the best way to clean your freezer:
Tips & Tricks
- Unplug the freezer – Before you start cleaning the freezer you need to unplug it from the wall. You need to turn off the freezer to make sure that there are no chances of electrical shock, fires, or other accidents that may damage the freezer or injure you. However, when you turn off the freezer it will start defrosting and leak water. That’s why you need to transfer it to an area where cleanup is easier. You also need to make sure that the floor doesn’t get damaged by water. To prevent that you can place plenty of old newspapers and towels under and around the freezer.
- Remove all the food – After you have unplugged the freezer from the wall and transferred it to a safe place it’s time to remove all the food inside the freezer. Get all the food and transfer them to the fridge or another freezer if you have a spare fridge in your home. This allows you to clan the freezer compartment while preventing the food from spoiling. If there’s a lack of space in the fridge or you don’t have a spare fridge, it’s best to fill up a cooler with ice and store the food.
Place frozen food inside clear zip-lock bags or large containers with lids. If you’re going with the cooler option, it’s best to use clear bags. However, if you plan to store the food in the fridge it’s best to get containers with lids. This prevents your frozen food from premature defrosting. You can also line those containers with plastic bags so that it’s easy to clean them later.
- Make an inventory list – With bulk grocery shopping most people often forget about the items inside their refrigerator and freezer. Your freezer may be full of items that have been there for a long time. Cleaning your freezer is an opportunity to make an inventory list. As you remove each item from the list note down the names along with expiry dates. You can also go digital and take pictures of each item and assign the images in your phone the appropriate name along with expiry dates.
After you put the items inside clear bags or containers make sure to label them along with expiry dates. Another important step is to inspect each item as you take them out of the freezer. Check for discoloration and smell to make sure it isn’t spoiled already. If you have items like meat inside packaging and it has developed frost or ice on the meat inside the package, then it’s probably spoiled.
- Quicken defrosting – Once you have executed the above-mentioned steps it’s time to quicken the defrosting process. Otherwise, the freezer would take several hours before it completely gets defrosted. Get a large container of hot boiling water and place it inside the freezer. Close the lid so that the heat generated inside by the freezer is trapped inside and melts all the ice as quickly as possible. You can also use a hairdryer at low heat settings. Make sure to keep the hairdryer at a safe distance away from the freezer so that it doesn’t catch any water. That would cause an electrical shock and injure you severely.
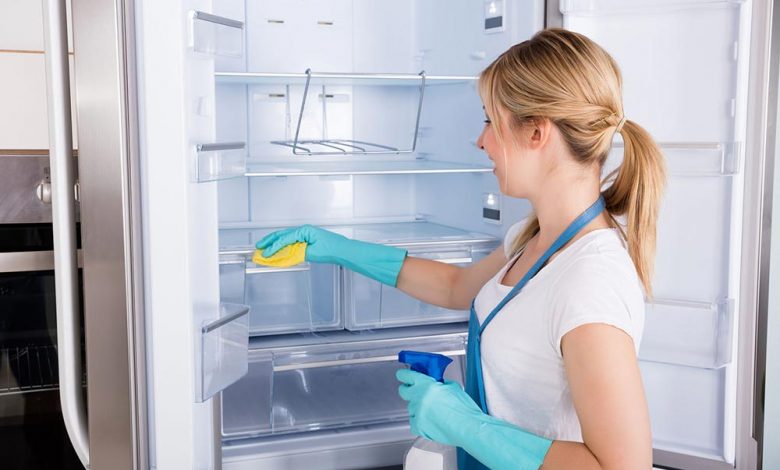
- Clean the freezer – Now that your freezer is defrosted it’s time to drain it. Use baking soda and vinegar, dish soap, or any other mild cleanser to clean out your freezer. Mix a small amount of cleaner with water. Dip a clean cloth in that mix and wash the interior surface of the freezer. All baskets and shelves need to be removed and cleaned separately at the sink. After applying the cleaner, you need to rinse down the surface with water and allow your freezer to air dry.
If your freezer had meat or other items that were too old, it may have a foul smell. If you don’t get rid of the smell, the fresh food you fill inside the freezer will catch that smell. Fill up a bowl with baking soda and put it inside the fridge. Close the lid for several hours and allow the baking soda to absorb all the bad odors. Next time you can also keep a bag of baking soda inside the freezer along with the food to prevent bad smells.
- Clean the coils and drip pan – After the freezer has been air-dried it’s time to clean the drip pan and get rid of the dust buildup from the coils. The drip pan usually sits under the freezer. Take it out and get rid of residual water. Wash the pan with warm soapy water and allow it to air dry. If the pan can’t be removed, you can use a damp cloth to clean it.
For the coils, you need a special coil cleaning brush. You can get it at any convenience store. Use that brush to reach into the coils and loosen the dust buildup. After that, you can vacuum up all the loose dirt and dust. Make sure the freezer is unplugged while you do this.
- Clean the exterior – Now that you’ve taken care of the interior it’s time to clean the exterior surface. You can use regular soap and water to clean the external surface. If it’s a stainless-steel surface, make sure to clean it with a stainless-steel spray to avoid any damage to the finish. Finally, you can put everything back inside the freezer and turn it on.
Conclusion
As you can see, cleaning your freezer efficiently isn’t a daunting task. You just need to be thorough, patient, and consistent. However, if you’re too busy for the task you can hire a professional to do it for you by searching for “home cleaning services near me”.