Unnoticed water leaks can lead to severe property damage and loss of valuable resources. Timely identification and fixing of leaks are crucial for maintaining the structural integrity of your home and saving money on water bills. Homeowners must know the basic methods to detect leaks and take preventive measures. This step-by-step guide will help you become better equipped when it comes to water leak detection and management.
Step 1: Inspect Your Water Bill and Monitor Usage
Keep a close eye on your monthly water bill and maintain records for historical comparisons. A sudden spike in water consumption might indicate a hidden leak somewhere in your plumbing system. Establish your average monthly water usage and set up alerts for any abnormal increase in usage.
Step 2: Perform Visual Inspection
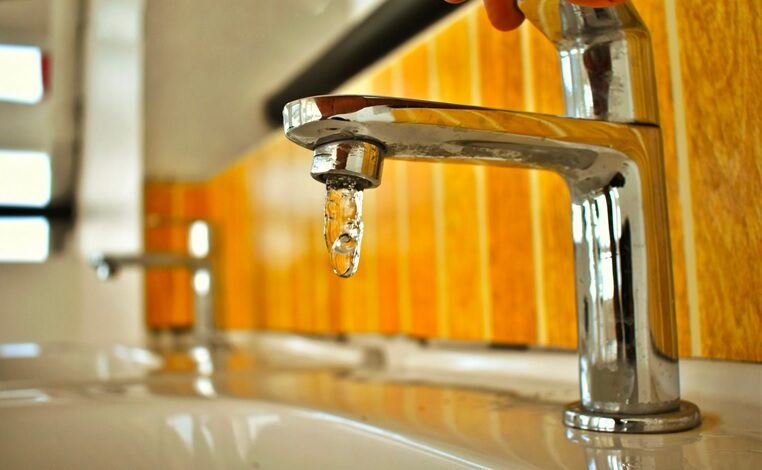
Begin with an initial visual inspection for visible leaks, damp walls, or water damage around the house. Check under sinks and around toilets, bathtubs, and showers. Look at the ceilings and walls near plumbing fixtures for signs of water stains, discoloration, and mold.
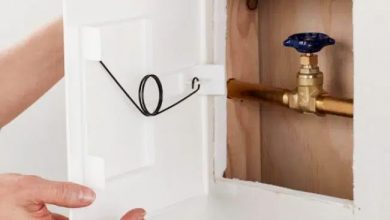
Step 3: Check the Water Meter
You can also use your water meter to detect leaks. Follow these simple steps to check for leak indications:
- Turn off all water outlets in your home.
- Read and note down the current water meter reading.
- Wait for at least 2 hours without using water.
- After 2 hours, check the water meter reading again.
If the water meter reading has increased despite not using water, it’s a sign that there might be a leak.
Step 4: Outdoor Leak Detection
Inspect your outdoor plumbing – examine spigots, outdoor faucets, and hoses. Check the in-ground sprinkler system for broken sprinkler heads or any water pooling in your yard, which might indicate a broken underground pipe.
Step 5: Use Food Coloring
A common leak location in many homes is the toilet. Drop some food coloring in the toilet tank and wait for around 15 minutes to see if the color appears in the toilet bowl. If the dye shows up in the bowl, it means the flapper valve in the tank isn’t sealing correctly, and you have a leaky toilet.
Step 6: Use Leak Detection Solutions
Specialized leak-detection products, like leak detection dyes, gas, or acoustic sensors, can be useful in accurately locating leaks. These solutions can find even the tiniest of leaks within your water system, giving you confidence in knowing exactly where the issue is.
Step 7: Consult a Professional Plumber
If you’ve exhausted all the above steps and still haven’t located the leak or aren’t comfortable addressing it yourself, it’s time to call the professionals. A licensed plumber can perform a thorough inspection, identify the source of the leak, and suggest the best course of action to fix the problem.
Do you need help with slab leak detection in Bethany? Get in touch with an experienced plumber who can assist with your water leak detection needs. They can help you save time, money, and resources by finding the leak quickly and safely. Book a service today!